
Social media makes before and after nose contouring look easy. Two lines, a quick blend, and suddenly the nose looks slimmer, straighter, and more refined. In real life, that same technique often turns into visible stripes, a muddy tip, or a finish that only works under a ring light.
The better approach is usually the quieter one. Japanese makeup tends to favor balance, softness, and structure that looks believable up close. That's why J-beauty products and methods work so well for nose contouring. They help shape the face without making the contour the first thing people see.
This guide focuses on that refined result. You'll learn how to choose Japanese contour products, adapt placement to your own nose shape, blend without harsh edges, and photograph your before and after nose contouring results accurately so the improvement reads clearly both in person and on camera.
The Art of a Natural Nose Contour
You finish your makeup, step to the window, and the nose contour that looked refined in the mirror suddenly reads as two obvious lines. That usually happens when the technique is borrowed from stage or studio makeup instead of adapted for daylight.
Natural nose contour has always been about optical correction. Earlier makeup traditions used stronger shadow placement because performers had to read from a distance and under intense lighting. Everyday J-beauty asks for a different result. The structure should register softly at conversational distance, in daylight, and in a phone photo without looking painted on.
That difference matters. Japanese makeup tends to treat contour as restraint, not transformation. The goal is a quieter shape adjustment that works with your existing features: a bridge that looks a touch cleaner, sides that appear slightly more refined, and a tip that looks neater without becoming sharp or pinched. If you want broader context for that preference, this overview of Japanese beauty standards helps explain why subtle structure reads so beautifully in J-beauty.
What natural contour actually looks like
A natural nose contour does three jobs well:
- Places shadow where the nose already turns away from light: Good contour follows anatomy. It does not paste on a trendy template.
- Uses highlight with restraint: A slim, softened highlight suggests structure. A bright stripe makes the nose look flatter and more artificial.
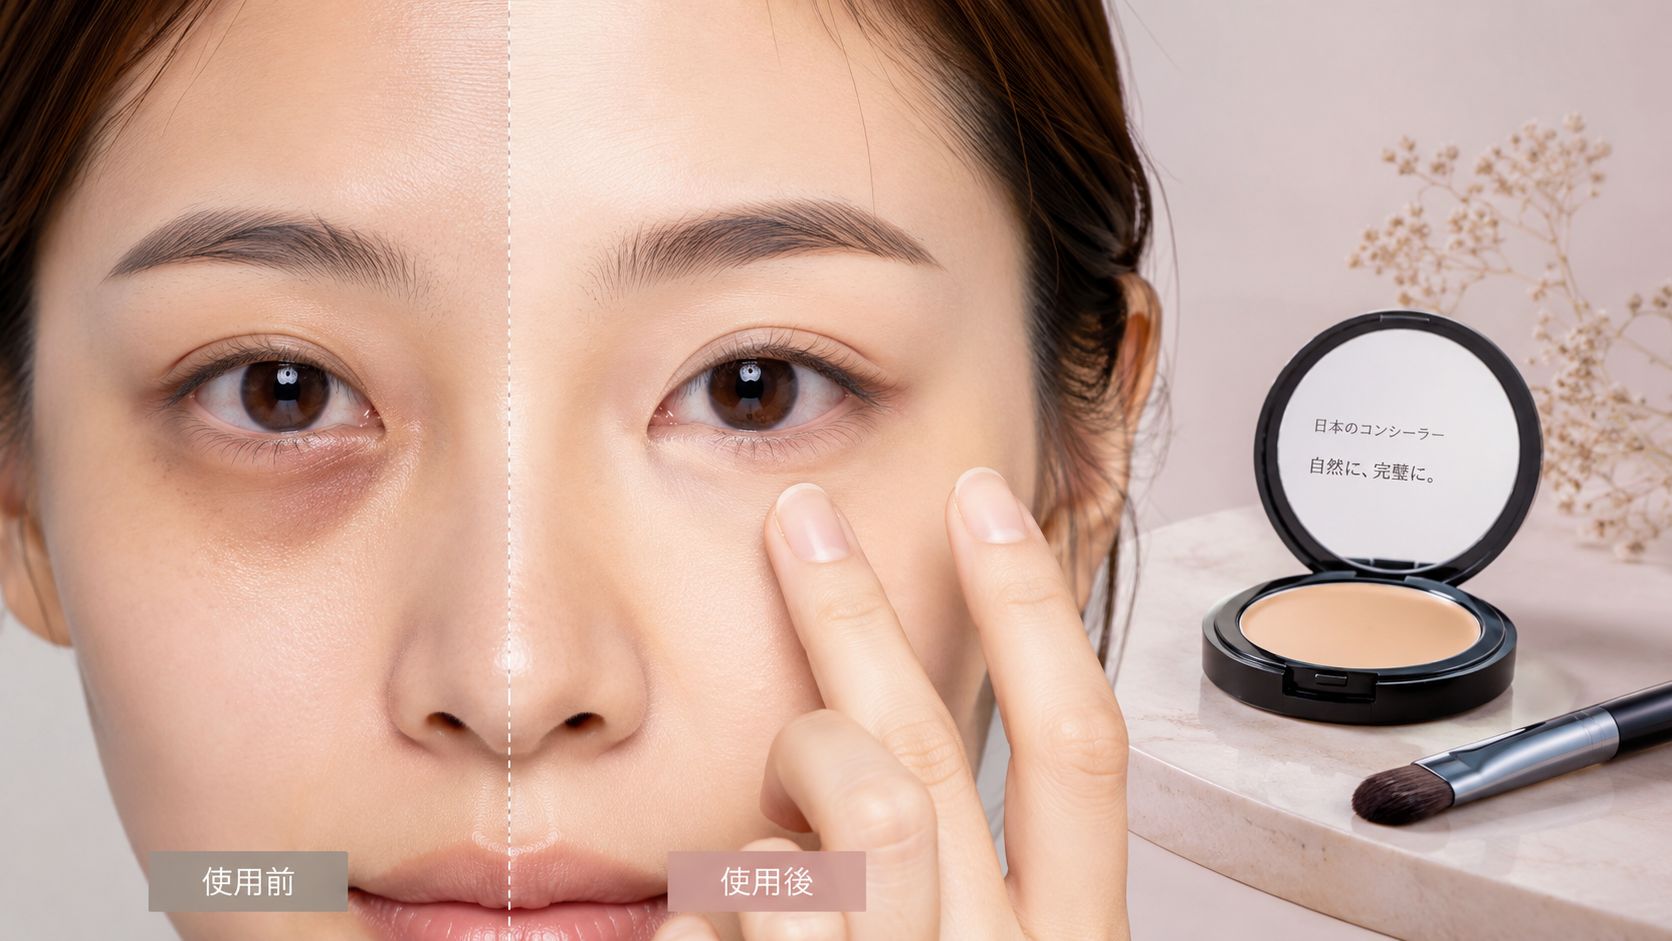
- Holds up in real life and on camera: The before and after should show improvement, but the makeup itself should not become the subject.
Practical rule: If the contour looks clear from across the room, it will usually look heavy up close.
This is one reason Japanese powders and brow palettes are so useful for nose work. They are often built with softer pigment payoff, which gives more control over buildup and makes the final shape easier to diffuse into bare skin or foundation. That softer finish also photographs better for subtle before and after comparisons because it creates dimension without leaving hard borders that a phone camera can exaggerate.
I also tell clients to judge the result from three angles: straight on, three-quarter view, and in a quick photo. A contour that looks perfect only head-on is rarely the most natural one. For a tech-focused perspective on how visual presentation tools are changing beauty content and comparison images, LunaBloom AI is an interesting reference point.
The key skill is not making the nose look dramatically different. It is making the improvement look believable enough that people notice the face looks polished, not contoured.
Your Essential Japanese Contouring Toolkit
A good contour starts long before product touches the nose. Most failed before and after nose contouring results come from the wrong shade, the wrong texture, or the wrong tool. Technique matters, but if the product is too warm, too opaque, or too stiff to blend, the result won't read as natural.
A useful kit is small. You don't need a giant palette. You need a contour shade that behaves like shadow, a highlight that mimics light, and tools that let you place both precisely.

The products that matter most
A cool or neutral contour is the backbone of the look. Warm bronzer usually turns orange or ruddy on the nose, especially around the tip and nostrils. For a softer J-beauty effect, look for products such as Canmake Shading Powder, Kate Designing Eyebrow 3D, or Cezanne shading products. The eyebrow palette trick is a professional favorite because the powder is often finer and less dense than a standard contour compact.
A subtle highlighter matters just as much. For nose work, I prefer a satin finish over obvious shimmer. Products like Cezanne Pearl Glow Highlight or a soft cream brightener from Canmake can brighten the bridge without making the center of the nose look wet or metallic.
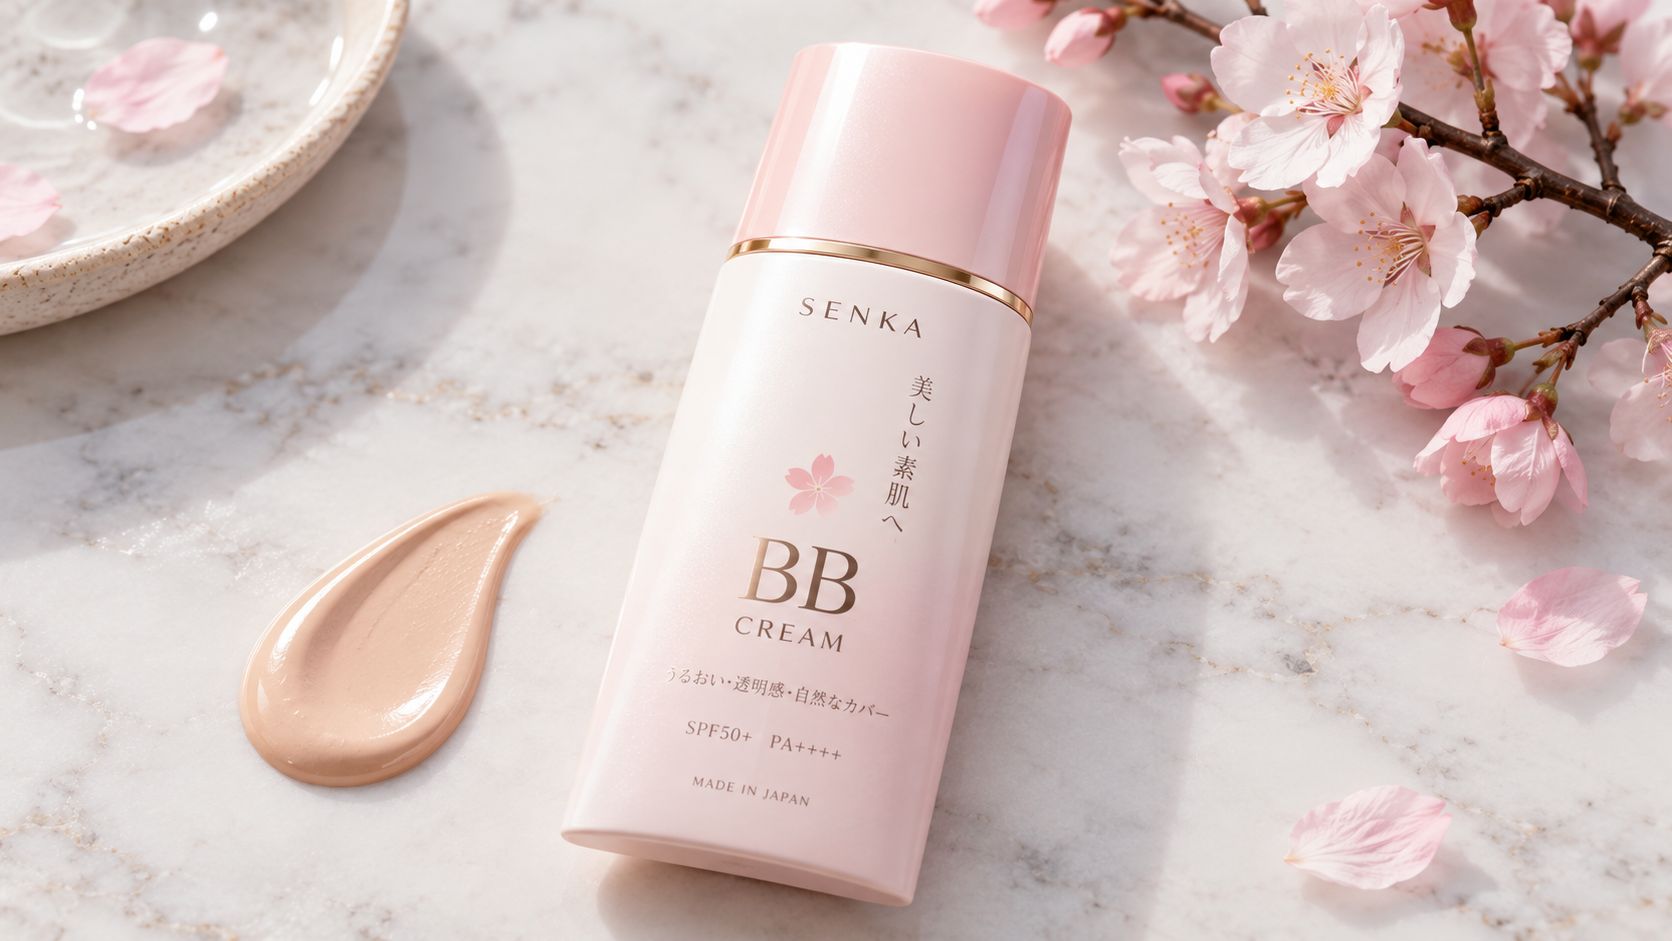
You also need a stable base. If the skin is slick, the contour breaks apart. If the base is too thick, contour sits on top and goes patchy. Lightweight options such as Shiseido Anessa UV formulas, Biore UV, or Hada Labo prep products help create a smoother surface before makeup.
Why Japanese formulas are especially useful
One of the biggest frustrations in contour tutorials is shade matching. A 2025 YouGov survey found 62% of beauty fans abandon tutorials due to poor shade advice, and the same cited source notes that Canmake's contour sales in Southeast Asia rose 28% in Q1 2025, reflecting demand for undertone-aware, oil-conscious products in the region, according to this shade guidance and J-beauty product discussion.
That tracks with what artists see every day. Japanese makeup brands often build complexion products with more nuanced undertones and more forgiving pigmentation. That makes them easier to layer gradually, which is exactly what nose contour needs.
If you like analyzing how visual beauty tools and digital references shape product choices, LunaBloom AI has interesting reading on beauty-tech trends and image-based creative workflows.
Tools that make the difference
The best contour product can still look rough if the brush is too fluffy or too wide. Keep your tool kit focused:
- Small angled brush: Best for mapping the side lines and working around the nostril.
- Slim blending brush: Useful for diffusing the line without erasing it.
- Damp sponge: Good for softening the highlight or pressing edges into the base.
- Translucent setting powder: Helps lock the work in place without adding more color.
For brush selection, this guide to the best Japanese makeup brushes is a smart place to compare shapes and softness.
A nose contour should build in sheer layers. If your brush picks up too much product at once, the problem starts before the first stroke.
Custom Contouring for Your Unique Nose Shape
You finish one side, step back from the mirror, and the contour that looked delicate up close suddenly reads like two stripes in the before photo. The problem is usually placement, not effort. A natural Japanese-style nose contour starts by reading your own structure under straight light, then placing shadow only where the nose already turns away from that light.

I do not map every nose the same way. A low bridge needs different line spacing than a high bridge. A round tip needs different shading than a wide nostril base. That restraint is part of the J-beauty approach. The goal is a cleaner impression of your features, not a dramatic new nose that only works under ring light.
If your nose looks wide from the front
A wide nose benefits from believable side shadow, not compressed lines. Pulling the contour too close together often creates a pinched center stripe, which looks obvious in person and even harsher in photos.
Place the shading where the side plane starts to recede. On many faces, that means beginning near the inner brow, letting the lines travel down with a soft taper, then giving a touch more depth only near the widest part of the nostril base. Keep the center highlight narrow enough to create shape, but wide enough to still look like skin.
Use this order:
- Mark faint guide lines while looking straight ahead.
- Check both sides in the mirror, then check again with your chin level.
- Add extra depth only where width is strongest.
- Refine the highlight so it stays soft, not sharp.
A buildable powder such as CEZANNE Nose Shadow & Highlight works well for this because the pigment stays light and easy to correct.
If your nose looks short or flat
Length comes from continuity. If the bridge contour starts too low or breaks around the center, the nose can look shorter even after careful work.
Keep the side shading straighter and slightly higher toward the brow. Let the highlight run through the bridge in one controlled path, then soften it before the tip instead of ending it abruptly. Skip heavy shimmer here. A glossy tip pushes attention forward and can make the nose read shorter and rounder.
Three adjustments help fast:
- Start higher: Low placement cuts the bridge visually.
- Keep the center uninterrupted: Gaps shorten the line of the nose.
- Use less depth around the nostrils: Too much darkness at the base compresses length.
If your nose looks long
A long nose usually needs less bright length and more control in the lower third. I shorten the visual line by limiting the highlight and placing the deeper tone lower on the sides.
Stop the highlight before the very tip. Then add a whisper of shadow beneath the tip and blend it upward so the lower edge recedes. The change is subtle, but in a before and after photo it often reads more balanced than adding stronger contour through the whole bridge.
On a long nose, highlight placement often matters more than extra shadow.
If your tip is round or bulbous
A round tip needs precision. Heavy circles of contour around the tip tend to photograph as muddy, especially with soft daylight or phone cameras that flatten dimension.
Use a small brush and place color only at the outer edges of the tip, then add a soft crescent beneath if the underside catches too much light. Blend upward into the lower bridge so the shadow disappears gradually. If this is your main concern, this focused guide on how to contour a bulbous nose gives a more shape-specific breakdown.
If your nose has slight asymmetry
Symmetry is not the target. Balance is.
Correct the side that draws the eye first. On one client, that may mean softening a stronger nostril flare. On another, it may mean straightening the visual path of the bridge with a slightly fuller shadow on one side only. Japanese powders are especially useful here because they build in thin layers, which gives you room to adjust without leaving a visible patch or hard edge.
Mastering the Blend to Avoid Common Mistakes
You finish your nose contour, step into daylight, and the lines suddenly look obvious. That usually isn't a placement problem. It's a blending problem.

In J-beauty, the goal is quiet structure. The contour should read as natural depth, not makeup sitting on top of the skin. The mistake I see most often is simple. Too much pigment goes down first, then the blending gets aggressive, and the shape turns muddy or disappears in patches.
Why contour turns muddy
Muddy contour usually comes from four habits:
- The shade is too warm: it reads as bronzer instead of shadow.
- Too much product lands at once: the nose gives you very little room to correct.
- The brush keeps sweeping across the bridge: that pulls shadow into the area you wanted to keep clean.
- The base is too wet or heavy: foundation and concealer can loosen the contour and smear the edges.
Base texture matters more than many beginners expect. If your makeup tends to slip around the nose, switch to a lighter base with a thinner dry-down. This guide to Japanese makeup foundation is useful if you want a formula that keeps detail visible instead of burying it.
A blend pattern that keeps the shape
Blend in zones.
Place the contour first and pause for a few seconds. Then soften the outer edge with a small brush, using short tapping or tiny back-and-forth motions. Leave the inner edge tighter. That cleaner inner line is what keeps the bridge looking slimmer in before and after photos, especially under soft phone-camera lighting.
Use this order:
- Map the contour with a light hand.
- Blend the outer edge first.
- Blur the inner edge only slightly.
- Press a clean sponge over any spot that looks powdery.
- Rebuild only the areas where the structure faded.
- Set with a light veil of powder such as Canmake Marshmallow Finish Powder.
I also prefer smaller Japanese brushes for this step because they force restraint. A large fluffy brush can make every nose look wider.
Artist's shortcut: stop blending once the stripe is no longer obvious at normal speaking distance. If you keep polishing after that point, you usually erase the lift and narrowing you just created.
A visual demo can help if you're still calibrating pressure and placement:
Fast fixes when something goes wrong
A bad blend rarely needs a full redo.
- Lines too dark: press a clean sponge with a trace of foundation over the deepest part of the stripe.
- Bridge highlight too wide: add a narrow touch of contour closer to the center, then soften just the edge.
- Tip looks dirty: tap a pinhead amount of clean base onto the center of the tip and blend upward.
- One side looks heavier: check the nose straight-on in a mirror from arm's length before adjusting.
If you want to test whether the finish still looks believable on camera, take a quick snapshot in flat window light or run a reference image through a realistic ai photo generator to compare how strong shadow translates in a photo. The best result still looks like your nose, just more refined.
That is the standard. Quiet, balanced, and believable up close.
Photography Tips for the Perfect Before and After
You finish a soft, well-placed nose contour, glance in the mirror, and it looks refined. Then you take the after photo under different lighting, a different angle, or with the phone slightly closer, and the result looks stronger or weaker than it does in real life. That is why honest before-and-after photography matters. It should show the makeup clearly, not distort it.

Proper contouring can noticeably refine the perceived width and structure of the nose. From a normal social distance, a well-done application should read as polished skin and balanced features, not obvious makeup. That subtle, your-face-but-better effect is the standard in J-beauty, and your photos should preserve it.
Use flat, repeatable light
Soft front light gives the most reliable comparison. Face a window, or place a diffused light directly in front of you. Skip overhead bulbs and strong side light, because they create shadows that compete with the contour you applied.
Keep the setup plain on purpose.
- Face the light straight on: this clearly shows the bridge and side shading.
- Stand in the same place: even a small shift changes where the shadow falls.
- Turn off beauty filters: skin blurring softens the edges you need to judge.
If you already keep a restrained, polished base routine, these J-beauty essentials for natural-looking skin and makeup support the same photographic finish.
Match your camera position exactly
The after photo often gets taken a little closer. That alone can change how the nose appears. Perspective shifts fast in phone photos, especially at short distances.
Set your camera at the same height for both shots and keep the same lens setting. A tripod, stack of books, or shelf works better than handholding because it removes small changes you may not notice in the moment. If you use the front camera, use it for both images. If you use the rear camera, stay consistent there too.
A believable before and after depends on restraint, and that includes the camera.
Photograph the views that show real changes
One straight-on photo is helpful, but three angles tell the truth better. I use this method when I want to check whether shaping still looks natural from more than one viewpoint.
- Straight on: shows width and bridge balance
- Three-quarter angle: shows side shading and bridge definition
- Soft profile: shows tip shaping and overall softness
Keep your expression neutral in every frame. Smiling changes the nostril area and cheek tension, which can make placement look different. Pull hair off the face and keep the chin level so the comparison stays clean.
If you want to study how subtle contour translates under slightly different visual conditions before taking final shots, a realistic ai photo generator can help you compare how gentle shadow placement reads in an image without pushing the result into harsh contour territory.
Your Checklist for Repeatable Results
Good nose contour is repeatable. On a rushed weekday, the result should still look balanced in the mirror, hold up in daylight, and read softly in a before and after photo. That consistency comes from a fixed routine, not from adding more product.
Japanese makeup makes that easier because the formulas are often built for control rather than drama. If your wider routine follows the same understated approach, this edit of J-beauty essentials for a refined everyday routine pairs well with subtle contour work.
The working checklist
- Keep prep light: Let skincare and sunscreen settle so powder does not grab in patches.
- Pick a true shadow tone: Use a cool or neutral shade instead of bronzer, especially around the bridge and nostrils.
- Follow your own structure: Place contour according to your nose shape, not a copied map from a different face.
- Protect the center line: Blend the edges first so the bridge stays clean and believable.
- Set with restraint: Too much powder can erase dimension and make the nose look flat.
- Test the result in real light: Daylight shows whether the shaping still looks like skin.
Japanese Product Recommendations for Nose Contouring
| Product Type | Recommendation | Best For | Why We Love It |
|---|---|---|---|
| Contour powder | Canmake Shading Powder | Beginners and soft everyday contour | Sheer, buildable payoff makes it easier to keep the result subtle |
| Multipurpose sculpting powder | Kate brand collection | Precise bridge and nostril shading | The brand's muted powders and brow palettes are reliable for controlled detail work |
| Highlighter | Cezanne Pearl Glow Highlight | Subtle bridge brightening | Adds light without leaving a thick metallic stripe |
| Setting powder | Canmake Marshmallow Finish Powder | Locking in a soft-focus finish | Helps control shine without making the nose look heavy |
| Sponge | Daiso beauty sponge | Pressing and softening edges | Useful for diffusing lines without spreading pigment too far |
| Base prep | Biore UV or Shiseido Anessa | Smoother makeup wear | Lightweight base layers help powder sit more evenly |
What usually gives the best result
The nose contour that photographs well is usually the one that looks almost invisible up close. Fine powder, a small brush, and a narrow placement pattern give more control than a dense cream formula applied in a hurry. On longer noses, I usually keep highlight off the very tip. On wider noses, I keep the side shading soft and low contrast so the shape looks refined, not pinched.
Common problems come from texture and tone choice. Thick contour over unset sunscreen can skip or cling. Warm bronzer can make the nose look muddy instead of sculpted. Heavy shimmer down the bridge catches light in a way that looks obvious in person and exaggerated in photos.
A strong before and after still needs to look like your face, just cleaner, quieter, and more defined.

Share:
River Light Wok: The Ultimate Guide to Japanese Cookware
Black Sesame Mochi Ice Cream: An Authentic Guide