


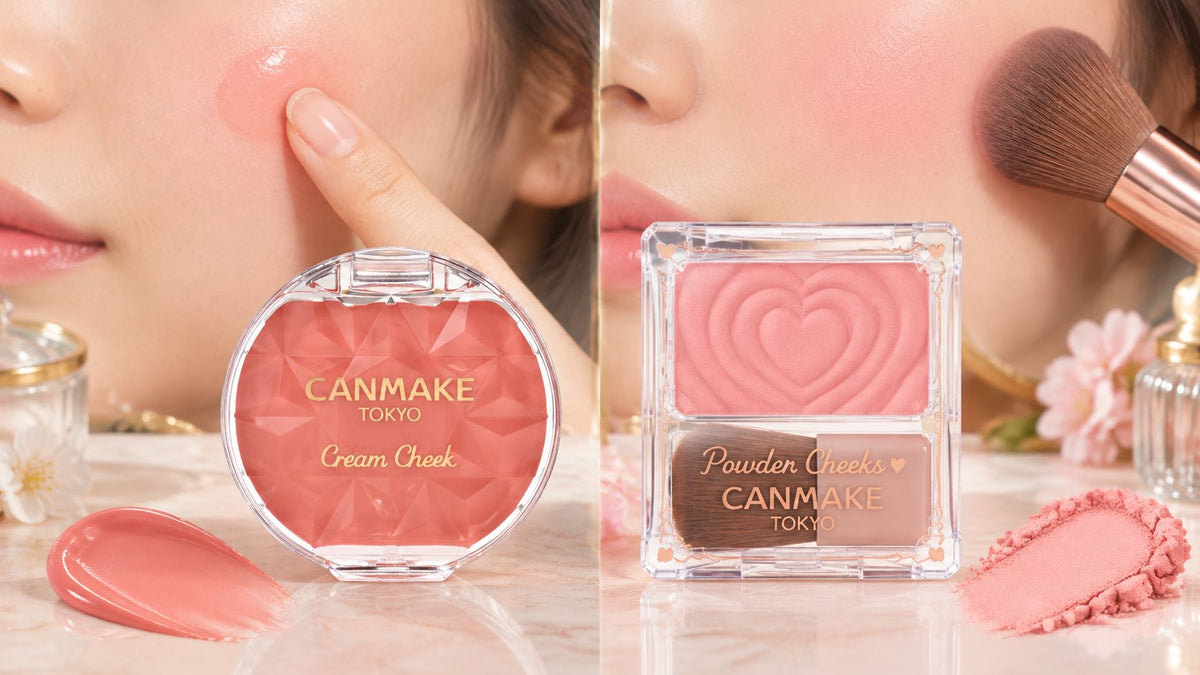
Your foundation looks even, but the moment you add blush, one cheek turns patchy and the other looks too shiny. It's tempting to blame your skin type. Often, the more useful question is whether the blush texture suits the base underneath, and whether you're pressing or dragging it into place.
Canmake Cream Cheek vs Powder Cheeks: texture and application comes down to more than cream against powder. Cream Cheek changes as you blend it. Powder Cheeks builds a luminous layer with a brush. Your foundation's surface, from bare skin to a heavily powdered finish, helps decide which method looks smoother.
Cream Cheek and Powder Cheeks Side by Side
Cream Cheek vs Powder Cheeks at a glance
| Feature | Cream Cheek | Powder Cheeks |
|---|---|---|
| Format | Melting gel-type cream | Lustrous powder with pearl particles |
| Texture on pickup | Silky and soft on a fingertip | Dewy powder that appears to melt into the skin |
| Applicator | Ball of a fingertip, stamping dots | Brush included in the compact |
| Finish after application | Comparatively dry set finish | Luminous, dewy powder film |
| Layering | Compatible with powder and liquid foundation | Built in successive layers for adjustable intensity |
| Official Japan price (CANMAKE's cheek product information) | ¥638 including tax | ¥660 including tax |
Those yen figures are CANMAKE's list prices in Japan. International stores set their own totals, so use them here only to compare the two formulas against each other. The powder's emollient ingredients and wash-off details are covered with the brush method, where they shape technique.
The biggest practical difference is where you control the color. Cream Cheek gives you control through small fingertip deposits. Powder Cheeks gives you control through brush pressure and repeated light layers.
Choose the method before the shade
A cream compact makes sense if you like placing color within a small area, then softening its edges. A brush-led powder suits a broader wash across the cheek, especially if you want to keep pigment off your fingers.
Cream can settle into a dry finish, and powder can carry visible luster. Judge each formula by how it ends up on skin, and match it to the surface underneath. A luminous powder layer sits naturally over liquid or powder foundation, where a brush can lay down thin coats. The cream's dry set rewards careful placement over base makeup it won't disturb.
Buying rule: Choose the applicator and settled finish you'll enjoy using. Shade selection comes after that.
The cream family also contains distinct textures. Pearl Type, for example, has a squishy, raw-cookie-dough-like feel and a more pearl-focused finish. Sheen varies across the cream line, so judge each variant on its own finish instead of trusting the shared packaging.
How Each Texture Changes from Pickup to Finish
Think of Cream Cheek as butter softening under a fingertip, then becoming a thin, settled film. Powder Cheeks is closer to a fine dusting of luster that you lay down in stages. Those analogies describe application, not the products' ingredients.
The texture contrast is easiest to understand at pickup and during blending.
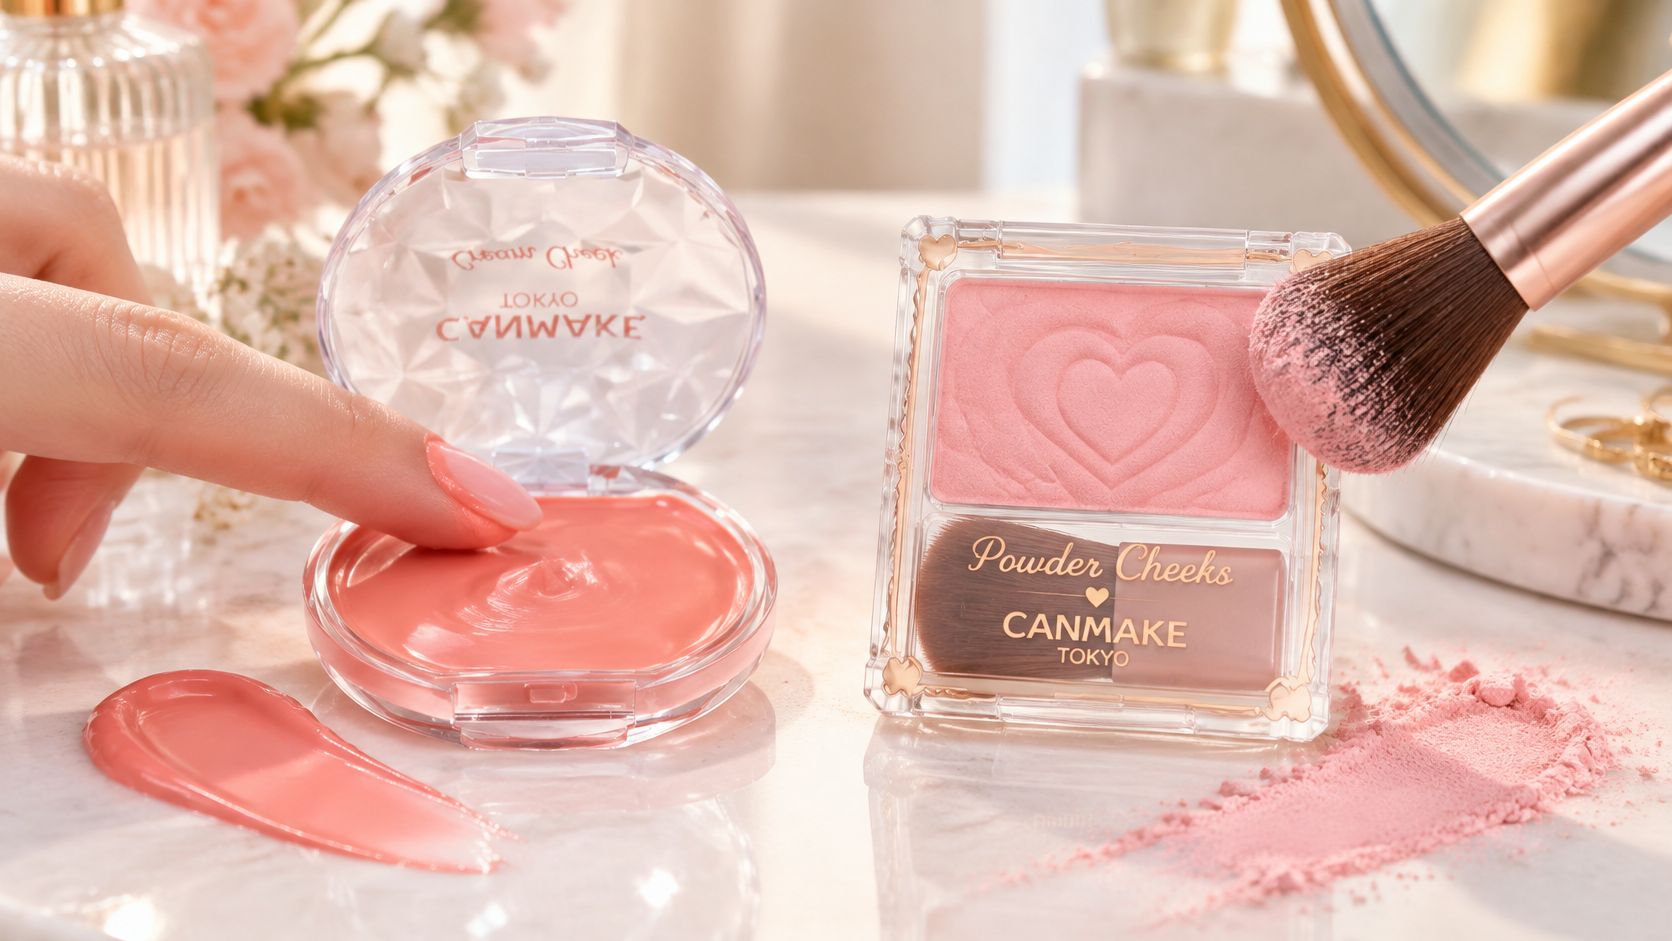
From soft gel to a drier finish
Cream Cheek launched in 2009, and Fashion Tech News' CANMAKE feature describes its melting gel as silky on pickup but comparatively dry immediately after application. CANMAKE attributes that change to a stretchy gel containing emollients, including vegetable-derived squalene and amino-acid-based moisturizing agents.
Emollients help a formula feel soft and spread comfortably. In this product, they're intended to improve adhesion and reduce the sensation of dryness while supporting wear. That doesn't mean the finished cheek should remain greasy.
Say you're wearing a light tint. The cream initially gives you enough movement to distribute the pigment, but continued rubbing after it settles can undo an otherwise even application. Blend the edges, then leave them alone.
From pressed powder to soft luster
Powder Cheeks doesn't need the same fingertip-led blending window. A brush distributes its fine pearl particles across the surface, and you can judge the color before adding more.
Its dewy description refers to appearance and texture, not a liquid film. It can still look powdery if you overload the brush or apply it over an uneven base.
Try each formula on the back of a clean hand. Compare the initial feel with the settled finish, then check whether an extra layer blends cleanly. For your face, remember that preparation matters too, including how your Japanese sunscreen sits under makeup.
Choosing Fingertips, Brushes or Sponges for Each Formula
Each formula rewards a different kind of contact. Cream Cheek sets where it first lands, so the tool has to place color accurately and spread it in few strokes. Powder Cheeks builds in thin layers, so the tool only needs to carry a controlled amount.
Which applicator suits which formula
| Applicator | Best with | Watch for |
|---|---|---|
| Fingertip | Cream Cheek, stamped as small dots | Cream sets where first placed, so blend quickly |
| Dense brush | Cream Cheek when a smoother blend is wanted | Picks up more product than a fingertip, so load it from the back of your hand |
| Damp sponge | Cream Cheek for a soft, pressed blend | Squeeze out excess so the product doesn't drag; repeated bouncing lifts color |
| Brush included in the Powder Cheeks compact | Powder Cheeks, swept or tapped in layers | Greater bristle volume spreads color over a wider area, so use light pressure |
Small-area control with cream
A dense brush suits anyone who dislikes touching their face or wants a more uniform blend. Load it from the back of your hand rather than straight from the compact, since bristles carry more cream than you expect.
A damp sponge gives the softest deposit and sits kindly on dry patches. The trade-off is absorption: it lifts color quickly, so squeeze it thoroughly, use a clean section and stop bouncing once the edges look diffused. This guide to using a makeup sponge covers the prep and handling.
Fingers still have a place for small corrections and bare-skin application. The tool matters less than the base underneath: over liquid foundation or a tint, any dragging contact can shift the layer below, and over a powder base cream tends to grab rather than glide. Choose the applicator that lets you place color with the least friction for the base you're wearing.
Wider coverage with powder
According to CANMAKE's Powder Cheeks product page, the included brush has a greater volume of bristles than the previous version, helping it spread color over a wider area. Convenient for a soft cheek wash, less forgiving beside the nose.
Hold the brush lightly and keep your first application narrow. You can extend the shape once you've judged the deposit. A separate fluffy brush softens the wash further, while a flatter brush concentrates pigment if you want a sharper cheek.
A different tool won't rescue an overloaded applicator. Reduce the amount before replacing the brush or sponge.
Start with your fingers for cream or the included brush for powder. Buy a separate tool only when you know what the existing method isn't doing for you.
How to Apply Cream Cheek with Your Fingertips
Start smaller than you think you need. Byrdie's comparison of blush textures explains that cream blush generally carries a thicker, more pigmented texture than liquid blush, so a small initial deposit and a pressing motion give you more control than a large smear.
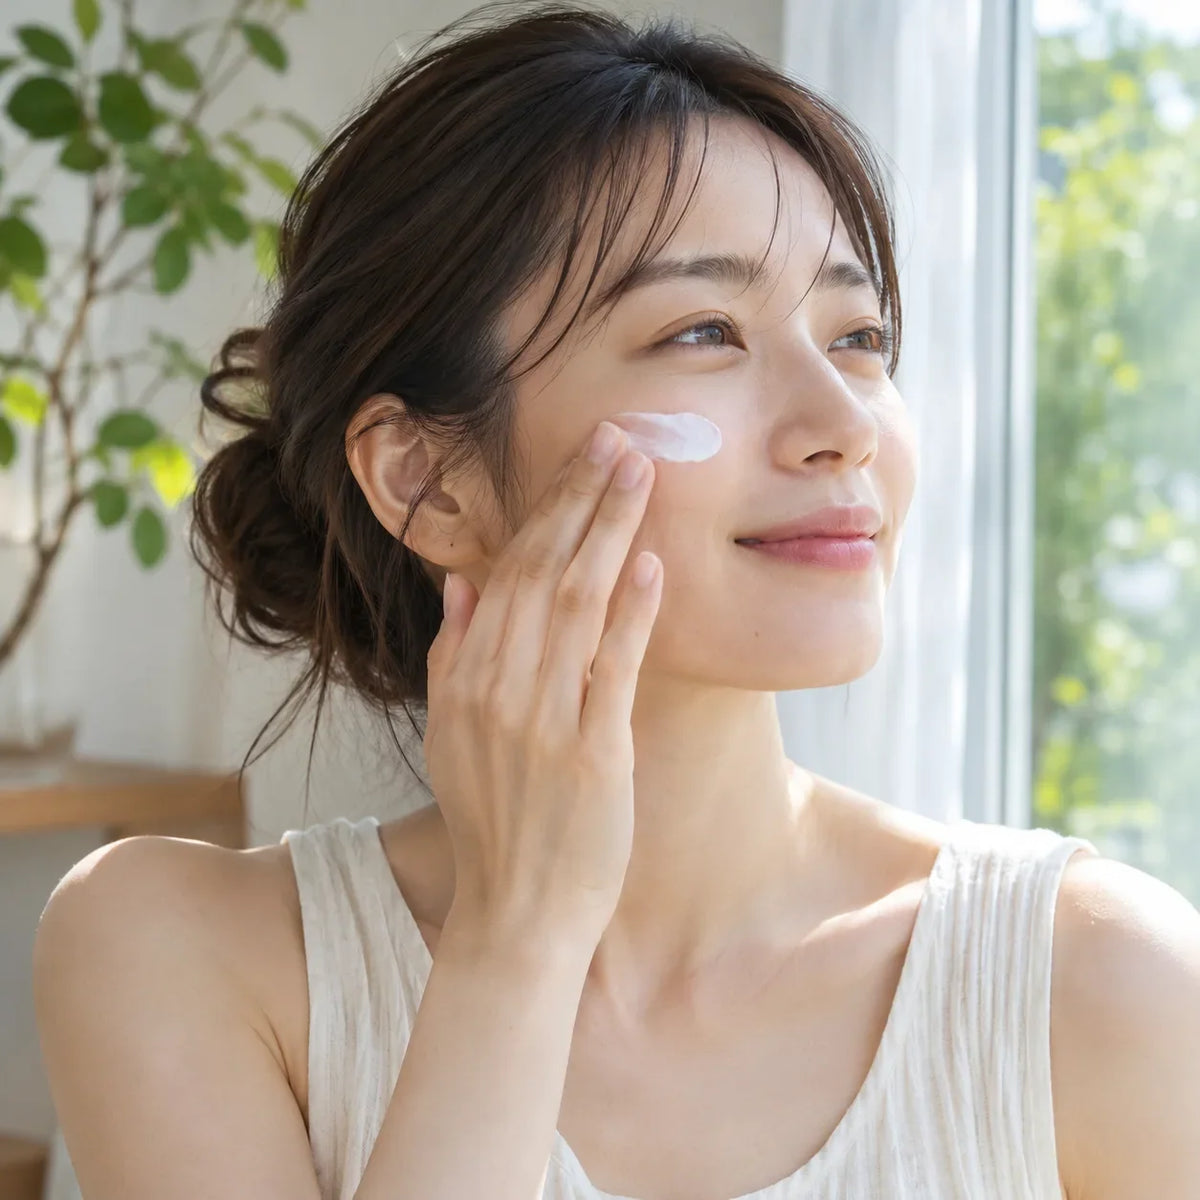
Use the application visual alongside the routine, paying particular attention to the softened edges.
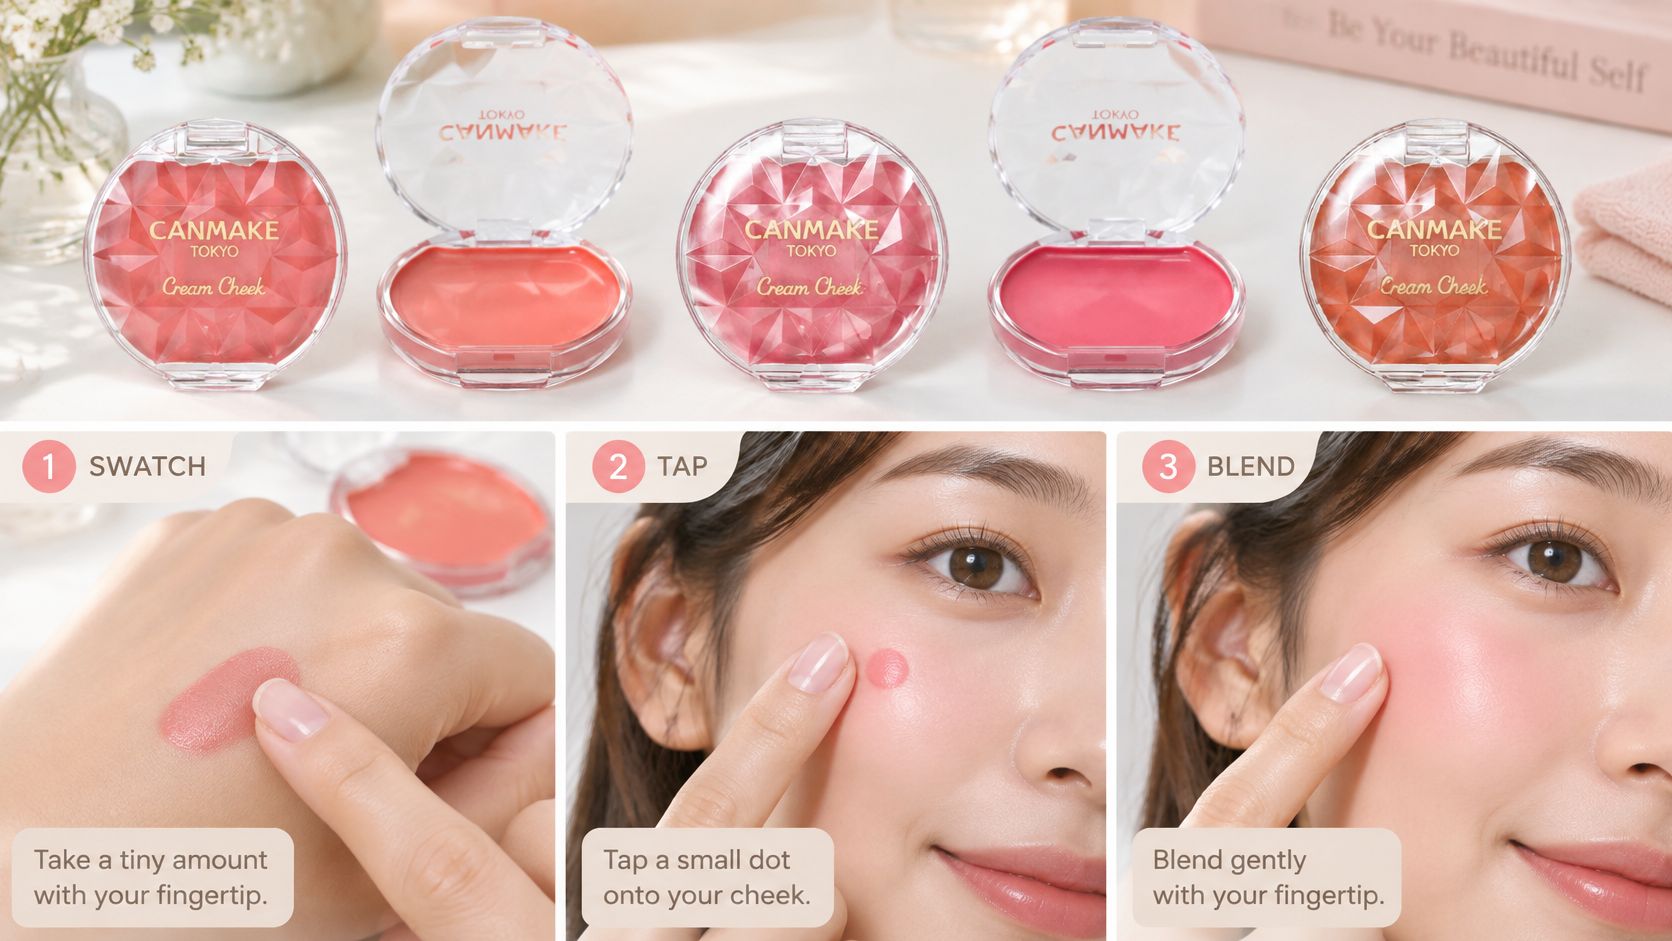
Place less, then build
- Transfer a little to the back of your hand. The cream softens as it warms there, which makes it easier to pick up a thin, even layer and lets you judge the color before it reaches your face.
- Pick up a tiny amount with your fingertip, using the grip described in the applicator table above.
- Stamp a small dot on each cheek, low along the cheekbone. Treat this dot as the center of your placement; the blended shape will reach beyond it. The formula begins to settle once it has warmed against your skin, so if it grips before you can blend both sides, finish each cheek separately.
- Press outward and upward toward the temple with light taps. Connect any separate deposits until no dot pattern shows, and keep the motion short so you do not drag a stripe across the foundation. Blend out the last of the product on your finger to soften the outer edge.
- Check the blended color before reloading. Add another thin layer only where the first has gone too faint. A concentrated center with bare skin around it needs more edge work, not more pigment everywhere.
- On oily areas, apply a light veil of setting powder if the surface still moves. Keep it restrained, because a heavy layer can flatten the cream's luminosity and leave the cheek looking coated.
- Patch test before first use, particularly on sensitive skin. Try a small, discreet area near the jaw and stop using the product if irritation appears. A patch test reduces the chance of a reaction without eliminating it.
Know when to stop blending
Step back from the mirror before making another correction. Close inspection tempts you to keep tapping until the color turns uneven or the foundation underneath starts to lift.
The same dot also behaves differently on different days. Cream spreads further on freshly moisturized skin and grips sooner on a powdered surface, so identical pressure will not give identical coverage. Judge the blend against the base you are wearing that day.
The video offers another view of the placement and blending motions.
A finished cheek should have soft edges, an even gradient and no visible line of dots. It does not need to look equally intense from every angle, because the base underneath and the reflected light change what you see.
Why Patchiness and Sliding Happen Over Foundation
Patchiness, sliding and dusty color: causes and fixes
| Symptom | Likely cause | Fix |
|---|---|---|
| Cream looks patchy after blending | Foundation still tacky or heavily powdered | Let the base set, then add a small dot and press |
| Color slides or fades on oily skin | Emollient film shifts during the day | Set lightly with powder, not heavily |
| Harsh or concentrated edges | Too much product in the first dot | Start from a small dot and diffuse upward |
| Foundation lifts when blending | Dragging across a wet or powdered base | Press instead of sweeping and wait for the cream to set |
| Powder Cheeks looks dusty | Too much product loaded on the brush | Tap off the excess and build in thin layers |
Compatibility isn't permission to rub
CANMAKE's Cream Cheek instructions state that it's compatible with both powder and liquid foundation. That makes it more flexible than a blanket “never cream over powder” rule suggests, but application pressure still matters.
Over bare skin or light tint, there's less coverage to disturb. Over liquid foundation, check whether the surface still feels wet or sticky before placing blush. Over powder foundation, use a particularly light touch instead of trying to work the cream thoroughly into the base.
Powder blush is generally easier to distribute once the foundation is no longer tacky. A sticky patch can grab the first brush deposit, leaving a darker spot that becomes harder to soften with every pass.
Your primer may also affect how the foundation settles. If the entire cheek area remains slippery, review what face primer is used for before adding another product to correct the blush.
Check your own base combinations
Run a three-base check across separate makeup days rather than layering different foundations on top of one another.
- Bare skin or light tint: Watch how easily the blush diffuses without a substantial foundation layer underneath.
- Liquid foundation: Let your usual application settle, then note whether pressing blush leaves gaps in coverage.
- Powder foundation: Keep the powder layer even and assess whether the blush catches around its edges.
Aim for comparable visible color each time. Record initial blending, foundation lifting, edge patchiness and how a light touch-up behaves after several hours. Use the same lighting when you compare the results.
For Clear Type specifically, CANMAKE describes a more lustrous result over liquid foundation and a softer finish over powder foundation. That's a useful reminder that the base changes the effect, not just the ease of blending.
Troubleshooting principle: Change a single variable at a time. Keep the foundation constant while adjusting pressure, product amount or setting.
How to Apply Powder Cheeks with the Brush
Powder blush looks forgiving in the pan and less forgiving on skin. Load lightly and build deliberately, especially with a compact brush that covers a broader area than your fingertip.
Build the cheek shape gradually
- Tap the brush into the powder. Use the surface of the bristles rather than digging the tips into the pan. Vigorous swirling makes it harder to judge how much product you picked up.
- Tap the loaded brush against the back of your clean hand to release excess. This also shows whether the deposit is stronger than expected. Don't unload a saturated brush onto the first cheek.
- Start at the apples and sweep outward, slightly upward toward the temples. Keep strokes short so color stays on the cheek instead of drifting toward the hairline. Ease the pressure as you reach the outer edge.
- Add thin layers, checking the color between passes. If the first pass is visible and even, you may not need more. A heavy sweep is harder to correct than a sheer layer.
- Keep extra pearl luster selective. If you want more reflection, concentrate additional product near the high point of the cheekbone rather than brushing it across the whole face. If you want highlighter-level reflection, that calls for a different product.
- Check the result in natural light. Turn your face slightly to inspect the sheen, then look straight ahead for uneven color or brush lines.
Finish and remove it with the whole routine in mind
Powder sits on top of whatever base is already there, so the surface decides the finish. Over powder foundation it diffuses evenly because the textures match. Over a still-tacky liquid or bare skin with surface oil, it can grab in patches. If the cheek looks shiny before a touch-up, blot gently first and then decide whether more pigment is needed at all.
If your skin is reactive, the comparison table earlier lists this formula's emollient and botanical ingredients. Patch test along the jawline for a day before working it across both cheeks.
When the blush sits over foundation or any other product with its own cleansing requirements, remove the full combination appropriately. Following the blush's instructions in isolation leaves the layers underneath behind.
The finished effect should be soft luster, adjustable intensity and no visible brush marks. If you can see the exact starting point of the brush, soften that boundary with a clean brush before adding anything else.
Choose the Right Cheek Formula for Your Routine
Choose Cream Cheek if you prefer precise fingertip placement, a fresh-looking flush or cream application over liquid foundation. Dry or mature-looking skin often suits its thin, satin-like settled film, but test it over your own base first, since a cream that melts into bare skin can sit differently over a matte liquid.
Choose Powder Cheeks if you prefer brush control, wider coverage and gradual adjustment without fingertip application. On oily days it is simpler to manage than a cream that needs extra setting, and over powder foundation it blends into the same finish instead of fighting it.
Buy for the method you'll use
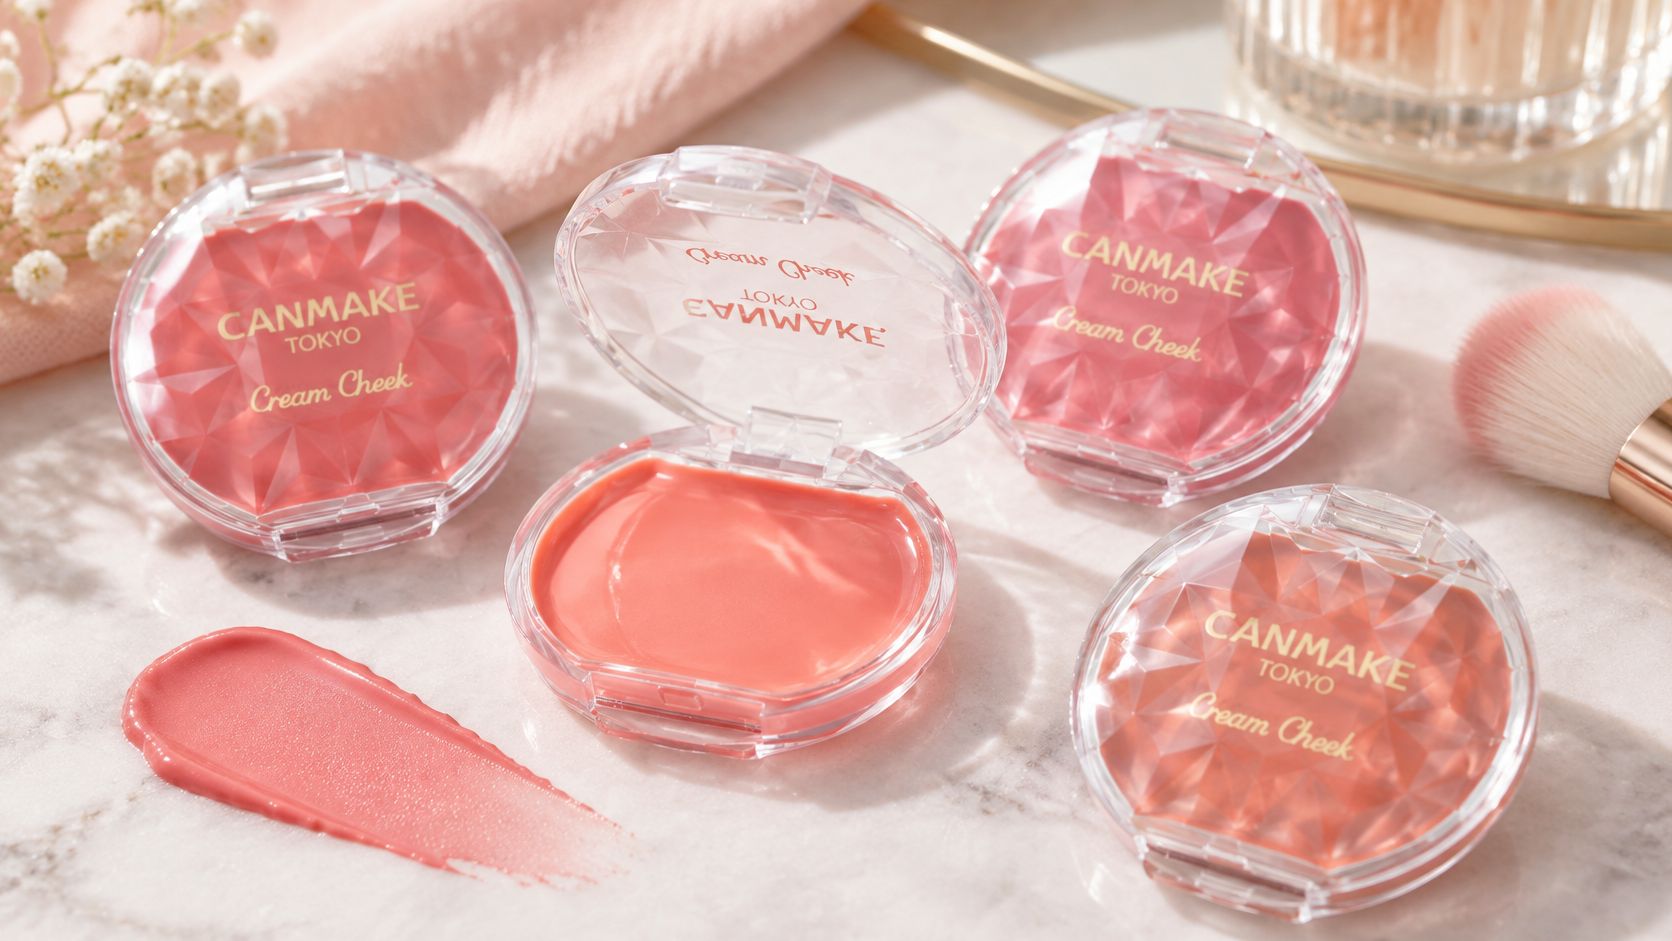
The cream family includes Clear Type and Pearl Type for different sheen preferences. Start with the standard cream method while you learn how much pigment and reflection you like, then switch types if the finish reads flat or too glossy on your skin.
Buy Me Japan carries Canmake alongside brands including & Honey, Biore, Hada Labo and Shiseido Elixir. Its Canmake Cream Cheek 2.3g (Various Shades) listing is a practical starting point for the cream format; check the shade range and whether your shade is a Clear or Pearl Type before ordering.
If you want to avoid buying overlapping products, ArtNaturals' budget makeup shopping tips give useful shopping context. Start with the formula that works with the tools you already own: fingertips for cream, a cheek brush for powder.
The jaw patch test and the three-base check covered in the earlier sections make this decision for you. Pick the format that sat evenly on your own foundation, buy one shade first, then add another finish later if you reach for it. The right blush is the one you can apply evenly within your normal routine.
Buy Me Japan is a trusted Japanese online store making authentic Japanese beauty, skincare, hair care and lifestyle products accessible through a convenient, reliable shopping experience. Visit Buy Me Japan to explore Canmake and choose a cheek formula that suits your foundation, preferred finish and application method.
Compartir:
Come usare il mascara per capelli Momori Point per domare i capelli ribelli e ottenere una riga ordinata 2026