


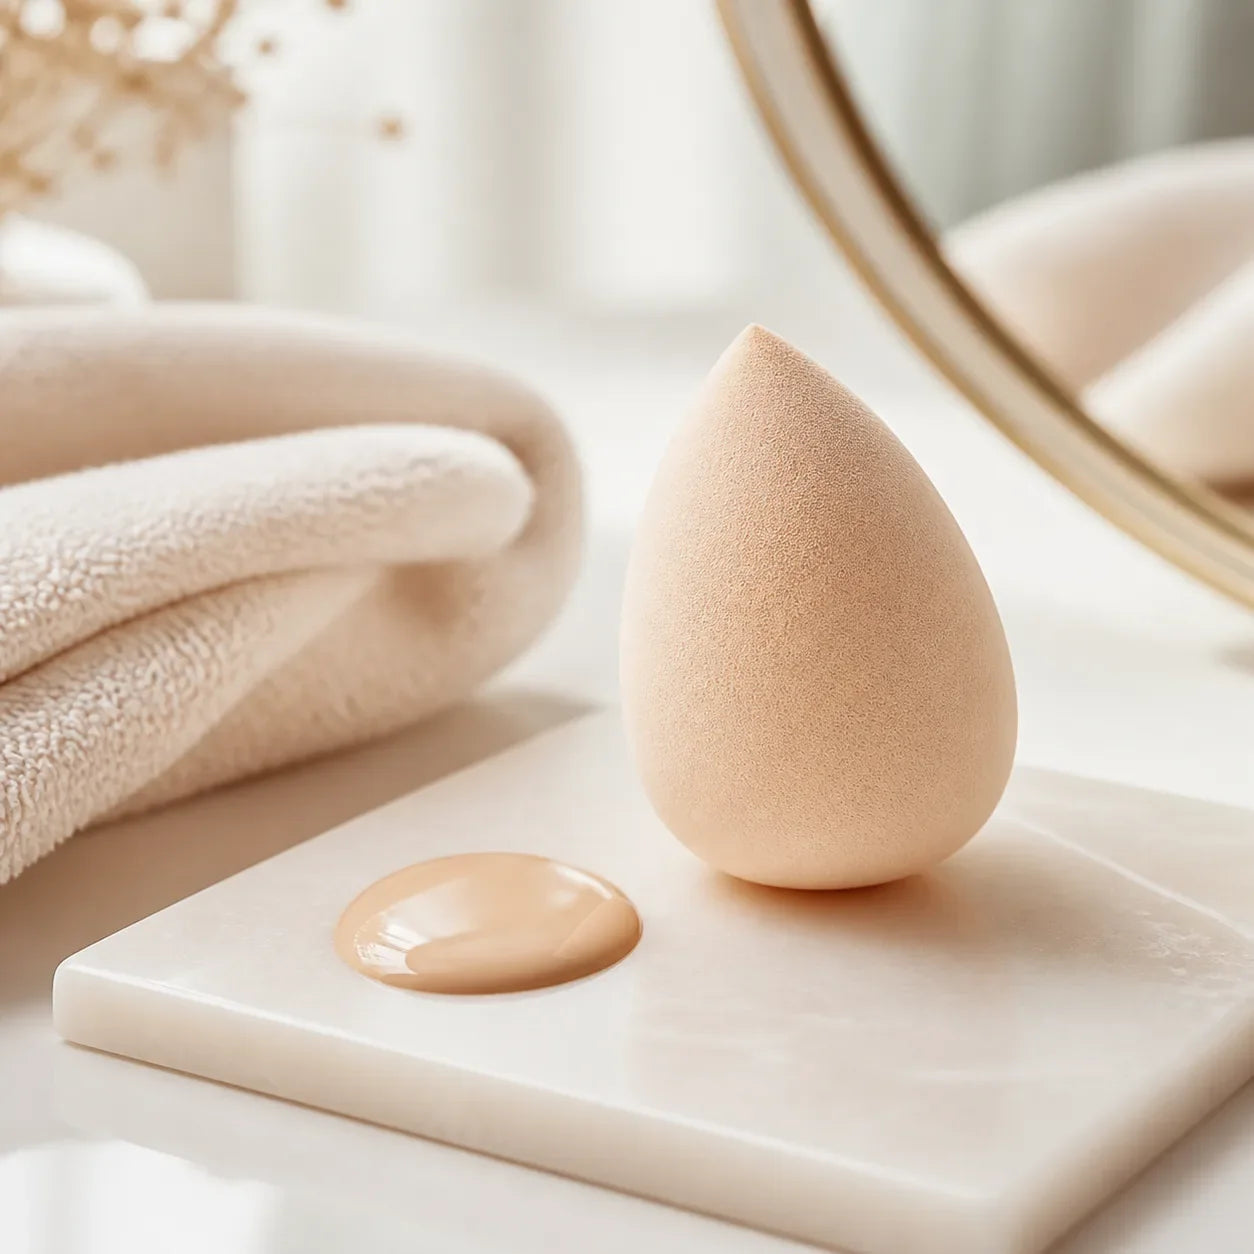
If your foundation looks smooth on one cheek and patchy on the other, the sponge is rarely the only thing to blame. The finish changes with the amount of water in the foam, how much product you load, the pressure of each tap, and even the order in which you work around the face. Once those variables become familiar, a makeup sponge stops feeling like a fussy extra step and becomes a very forgiving tool.
This guide focuses on the decisions that make the biggest difference: when to use a damp or dry sponge, which edge belongs on which area, how to build coverage without a heavy layer, and how to clean the tool so tomorrow’s makeup behaves like today’s.
Start with the finish you want
A damp sponge is the easiest place to begin. Saturate it completely with lukewarm water, then squeeze it several times until it feels springy and leaves no drips on your hand. The moisture makes the foam expand and generally helps you apply a thinner, softer layer of liquid or cream makeup.
A dry sponge gives a denser deposit and can be useful for a small correction or a fuller-coverage formula. It also absorbs more product and is more likely to drag if you sweep it across the skin. If a dry sponge feels stiff or leaves marks, switch to a lightly damp tool before adding more foundation.
Do not change everything at once. Try the same base with a damp sponge on one day and a barely damp sponge on the next. That small comparison tells you more than a long list of universal rules.
Load less than you think
Put a small amount of foundation on the back of your hand or a clean palette. Touch the broad side of the sponge into it, then bounce once on your hand to spread the product through the surface. You want a thin veil on the foam, not a thick coat that will land in one patch.
Begin at the centre of the face, where people often want the most evening-out, and work outward toward the cheeks, jaw, and hairline. Lift the sponge after each contact. Pressing and lifting leaves small overlapping deposits; rubbing pushes the product sideways and can emphasize texture.
Give the first pass a moment to settle before deciding you need more. Add a second thin layer only to redness, around the nose, or wherever you genuinely need extra coverage. This keeps the rest of the face looking like skin.
Use each part of the sponge deliberately
The rounded base is the efficient part. Use it on the cheeks, forehead, and chin with light bouncing. Turn the tool so the pointed end reaches the crease beside the nose, the inner corner of the eye, and the corners of the mouth. A flat or beveled edge is useful along the jawline and for placing cream bronzer before softening the edges with the rounded side.
For concealer, put a small amount on the tip and tap rather than pressing hard. The under-eye area usually looks better with less product and a clean, lightly damp surface. If the sponge starts to feel wet, squeeze it again; too much water can thin concealer until it slides into lines.
Three simple motions to practise
Light bouncing
Use the softest pressure for a sheer, fresh base. Keep the sponge moving in small sections and stop when the colour looks even. This is especially helpful with tinted moisturiser or a lightweight foundation.
Pressed bouncing
Flatten the sponge gently against the skin, then release it vertically. This settles product over uneven texture without sweeping pigment away. Use it where you want a little more coverage, not across the entire face.
Point tapping
Use the tip for small areas: a blemish, the nostril crease, or the inner eye. Tap around the edge first and then over the centre. That keeps the correction local instead of creating a new visible patch.
Match the tool to your makeup
A sponge works beautifully with liquid foundation, cream concealer, cream blush, and cream bronzer because the bouncing motion blends the edges without a brush line. Powder products are a different story. A clean, dry sponge can press a little powder onto the T-zone, but a soft brush is often easier for a light all-over dusting.
For a compact base, a sponge gives you control over where coverage sits. Kirei & co. 4 Colors Face Powder 10g is a practical example: use the rounded surface to press the cushion into the cheeks and forehead, then use the tip around the nose. Start with one thin pass and build only where the finish still looks uneven.
When you want targeted correction rather than another layer of foundation, KATE Stick Concealer can be placed directly on a small area and softened with the tip of a damp sponge. Keep the movement short so the concealer stays over the spot you intended to cover.
After cream products are blended, set only where makeup moves or shines. Canmake Silky Loose Moist Powder SPF23 PA++ is suited to a light finishing step. Pick up a small amount, press it through the sponge or puff, tap off excess, and touch the centre of the face rather than covering every cheek with powder.
Work with your skin, not against it
On combination or oilier skin, use the damp sponge to keep the first layer thin through the T-zone, then add coverage selectively. If the base separates around the nose, blot gently before touching up; adding more product to oil usually makes the area heavier.
On dry skin, let moisturiser and sunscreen settle before you start. A barely damp sponge is often more comfortable than a saturated one, and repeated tapping over a flaky patch will not smooth it. Pause, add a little suitable preparation, and return with less product.
In humid weather, a thin layer is easier to keep comfortable than a thick one. In a dry room, avoid overworking a formula after it begins to set. The sponge can blend, but it cannot make an unsuitable shade or a poorly prepared surface disappear.
Cleaning is part of the technique
Rinse the sponge after every use, working from the broad end toward the tip. Use a mild or dedicated cleanser, squeeze the foam rather than twisting it, and rinse until the water runs mostly clear. Press out the excess in a clean towel and leave the sponge in an open, ventilated place to dry.
Do not put a damp sponge straight into a closed pouch or drawer. If the foam develops a persistent smell, cracks, or no longer returns to its original shape, replace it. A tool that cannot be cleaned properly will change the way it picks up makeup, even if your application technique is consistent.
When the result looks wrong
- Streaks: stop sweeping and return to short, vertical taps with a cleaner, lightly damp side.
- Too much coverage: use a clean damp sponge to lift a little product from the surface instead of adding powder.
- Patchiness around the nose: blot first, then use the pointed tip with a very small amount of base.
- Creasing under the eyes: use less concealer and lighter pressure, then set only the fold that moves.
- A visible jawline: finish with the clean rounded side, bouncing from the face toward the neck until the edge softens.
The goal is not a perfectly identical layer everywhere. Real skin has movement, pores, and different levels of colour. A good sponge routine simply puts coverage where it helps and leaves the rest flexible.
A routine you can repeat
- Wash and fully dampen the sponge, then squeeze it until springy.
- Load a small amount of base and distribute it on your hand first.
- Press the rounded side over larger areas, working from the centre outward.
- Turn to the tip for the nose, under-eyes, and small corrections.
- Wait briefly, then add a second thin layer only where needed.
- Set movement-prone areas lightly and wash the sponge after use.
That is all the technique most people need. Change one variable at a time—moisture, pressure, or product amount—and your sponge will tell you what suits your skin. For authentic Japanese makeup and complexion products, browse Buy Me Japan and check the current shade and variant details before ordering.


共有する:
How to Apply Eyeliner Properly Step by Step
What Is Clarifying Shampoo for? a Practical Guide